Make your own notepads.
(You can find the pin here)
Now the original pin uses scrapbooking paper to make pretty notepads, but that's not what I'm talking about. I use paper that has already been printed on one side - whether it's old assignment sheets, directions, junk mail, anything. To get the sheet of paper down to size, I fold and tear it into six pieces.

If you really need your notepads to be perfect, you can use a paper cutter.
I find the eyeballing and tearing method works just fine.
After you get a good stack of the notepad-size papers torn, stack them up, making sure that the blank sides are all facing the same way. I try to make sure that the factory edges of the shorter sides are all at the top, because it makes the gluing easier.
Next, grab two binder clips and separate out enough paper to pretty much fill the clips. This will be one notepad, so the thicker you want your notepad, the bigger size binder clips you need.

Place the binder clips on either side of the papers close to the top. It's important to use the binder clips or another kind of clasp to hold them together, or the glue will seep down and the papers won't attach to each other well.

This is my setup for applying the glue. It's actually called "notepad padding compound," and it's available on Amazon and Etsy and Ebay. The bottle here is the first one I've purchased and pretty small, but a little goes a long way. I just use a cheap little paintbrush, but there are fancy bookbinding brushes you can by.
All you have to do is brush a thin layer of the padding compound across the side you want to hold the papers together. I always do the short side because the binder clips hold better that way, but it's up to you!
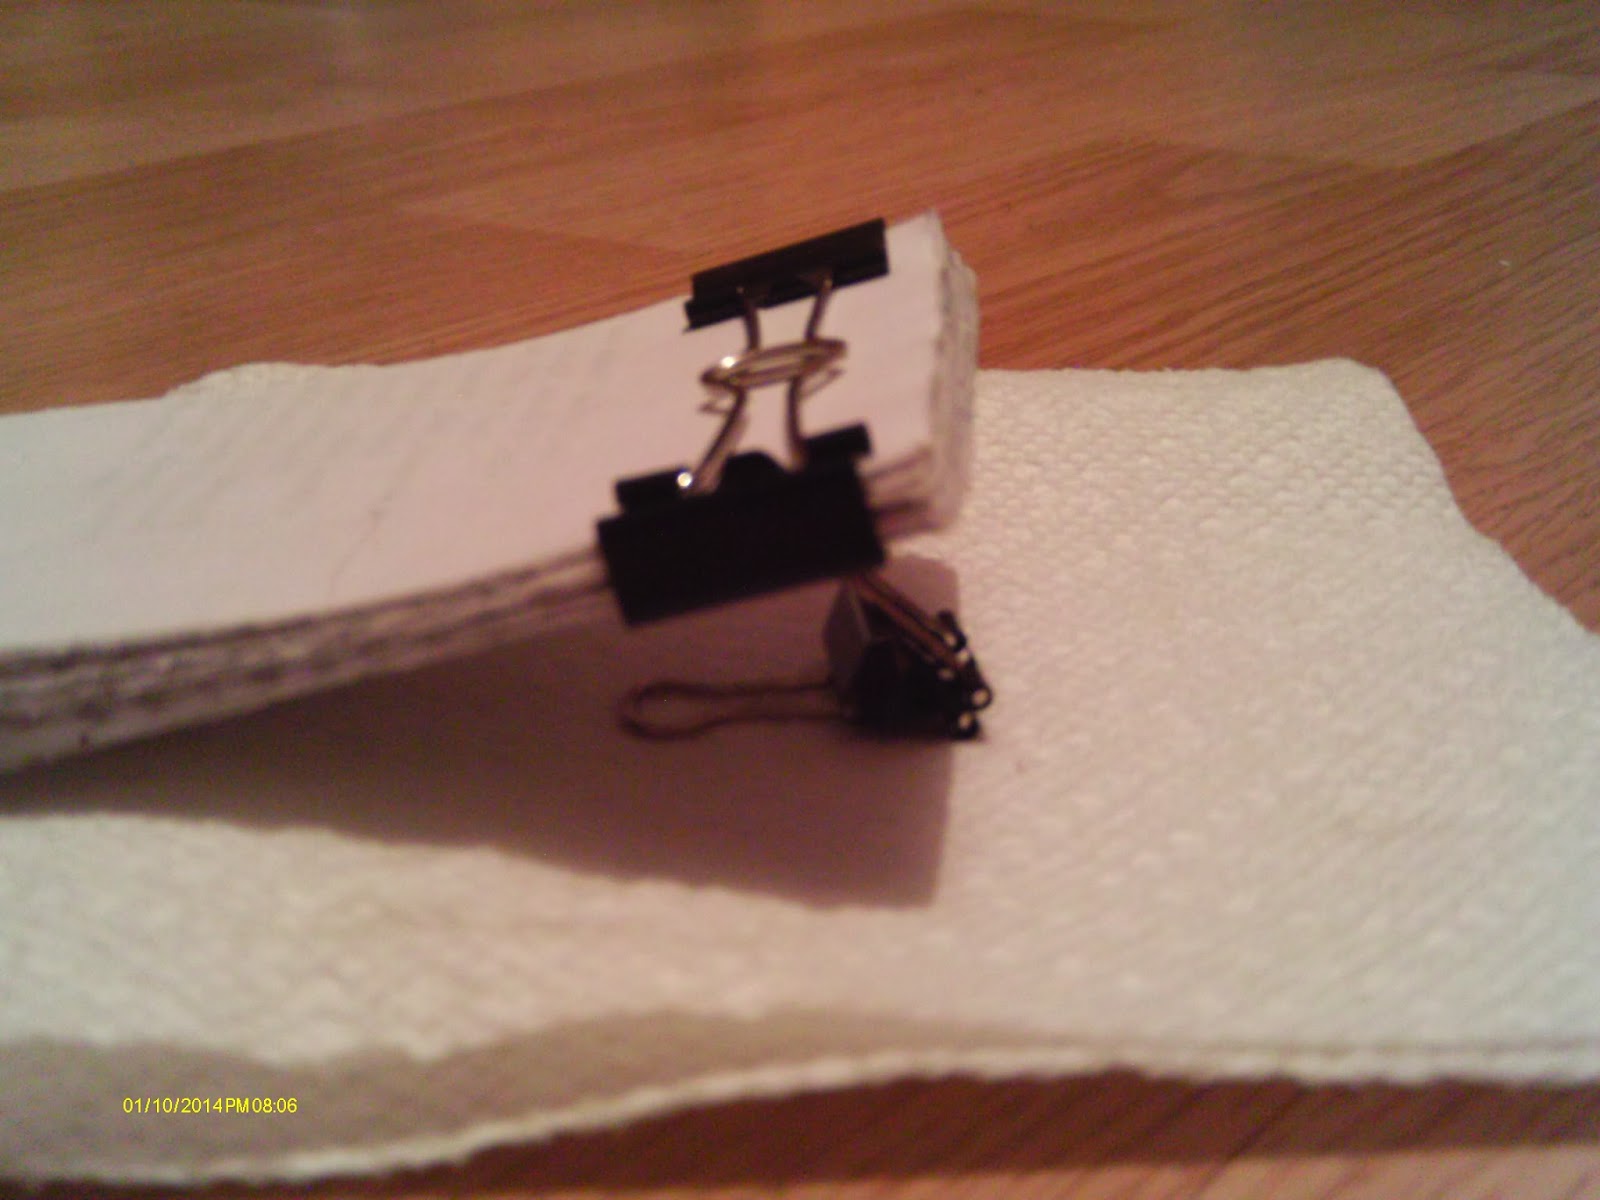
I use a third binder clip to rest the notepad on while the padding compound dries, so that it doesn't stick to the paper towel. I generally put on two coats of compound, and it dries within a couple minutes. I like to wait until you have a lot of paper to work with and can make several notepads at once and keep them on hand.

Once the padding compound dries thoroughly (I always give it a good hour to dry after the final coat, just to make sure it sets up really well) you have an upcycled notepad with tear off pages! This size is great for grocery lists, long or constantly growing to-do lists, or even leaving notes for roommates and family members. There's also the added benefit of getting the most out of that piece of paper and not having to buy paper products just for lists!
What are your favorite green craft projects? Leave me a comment and maybe I'll try them out!
No comments:
Post a Comment