Tuesday, February 11, 2014

Challenge Check-In

So as I said earlier, I've been working my way through the 52 Week Challenge.  If you have already started the challenge, or if you're still mulling it over, I hope you let this little check-in serve as an inspiration, motivation, or whatever it is you need to take the next step with it.

I have to say, I really love the feeling of saving this way.  Typically, I "save" by depositing a portion of my check directly into my savings account, and I never see the money, which is probably what the majority of people do.  We are not the generation of hiding money under the mattress or burying it in cans in the backyard, but for the Challenge, my "challenge buddy" Ellie and I both decided to keep the money in secret places in our homes - there is something so satisfying about being able to pull out that wad of cash and count it!

I am just past the 40-week mark, and that's stretching my budget tight.  Through a series of unfortunate events, I'm still working part-time at minimum-wage.  The chunk of my check the Challenge takes up can be daunting, especially when I am staring down needing to replace my laptop, get new tires on my car, and just subsist.  At just about three months to go, I'm finding inspiration in what the Challenge will accomplish for me.

When I'm done, I'm breaking my $1,378 into three equal parts:

  1. $459.33 to pay for being in, traveling to, and gifts for my best friend's wedding this summer (with coupons, sales, and ride-sharing, this should pretty much cover everything I need for the wedding).
  2. $459.33 into my "love fund" for the next time my long-distance guy and I are in the same zip code (more than enough to cover a hotel).
  3. $459.33 to use as a bonus loan payment, which will get me about six months ahead on one of my loans (because I'll use it as a lump sum rather than breaking it up among my loans).
Just stick with it!  The Challenge is going to take so many burdens off my mind, and I hope it does the same for you.

Saturday, February 1, 2014

Reduce, Reuse, Recycle DIY Notepads

If you read my first blog post nearly a year ago, you know that I have an obsession with notepads.  I also have a Pinterest-aided craze for DIY and crafting (within reason - I know my limits, however I do have quite a bit of experience with power tools, so my limits are typically a bit higher than most).  I've only tried three or four Pinterest things thus far because, well, there are a lot of other things to get done, but this is one I'm obsessed with.

Make your own notepads.
(You can find the pin here)

Now the original pin uses scrapbooking paper to make pretty notepads, but that's not what I'm talking about.  I use paper that has already been printed on one side - whether it's old assignment sheets, directions, junk mail, anything.  To get the sheet of paper down to size, I fold and tear it into six pieces.

If you really need your notepads to be perfect, you can use a paper cutter.
I find the eyeballing and tearing method works just fine.

After you get a good stack of the notepad-size papers torn, stack them up, making sure that the blank sides are all facing the same way.  I try to make sure that the factory edges of the shorter sides are all at the top, because it makes the gluing easier.

Next, grab two binder clips and separate out enough paper to pretty much fill the clips.  This will be one notepad, so the thicker you want your notepad, the bigger size binder clips you need.


Place the binder clips on either side of the papers close to the top.  It's important to use the binder clips or another kind of clasp to hold them together, or the glue will seep down and the papers won't attach to each other well.


This is my setup for applying the glue.  It's actually called "notepad padding compound," and it's available on Amazon and Etsy and Ebay.  The bottle here is the first one I've purchased and pretty small, but a little goes a long way.  I just use a cheap little paintbrush, but there are fancy bookbinding brushes you can by.

All you have to do is brush a thin layer of the padding compound across the side you want to hold the papers together.  I always do the short side because the binder clips hold better that way, but it's up to you!


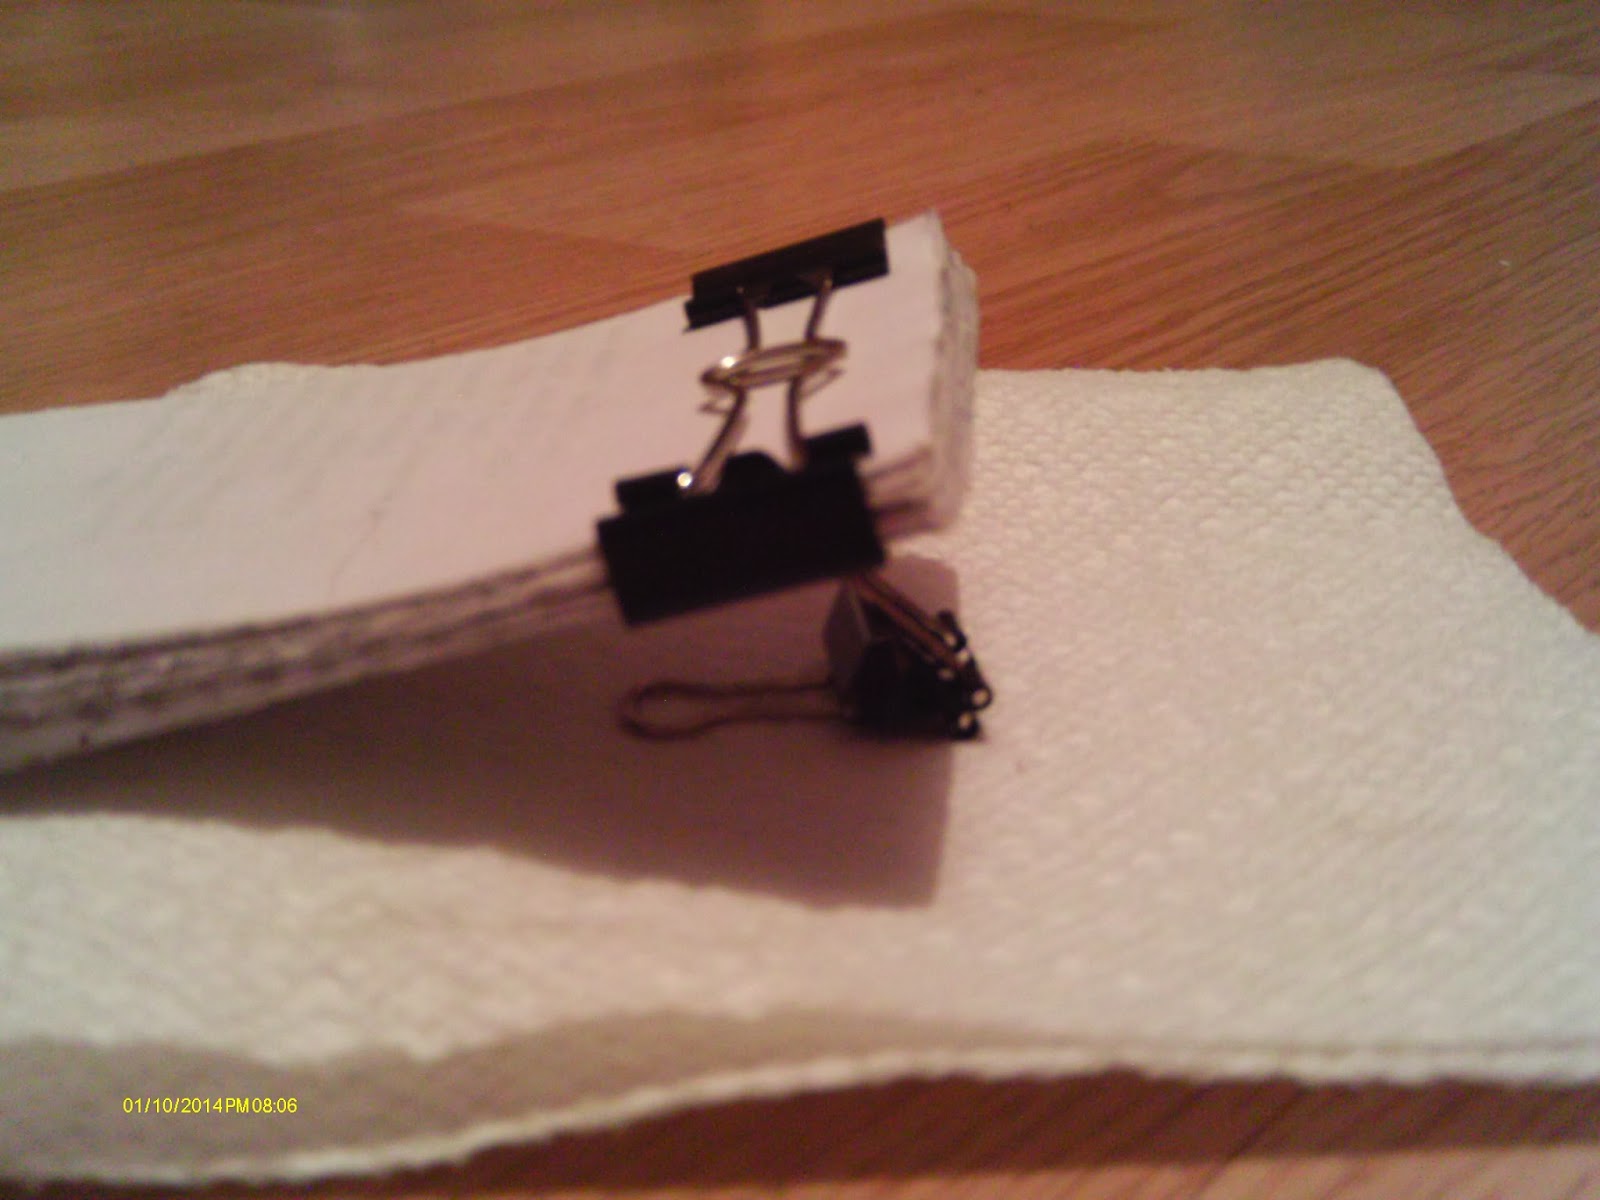
I use a third binder clip to rest the notepad on while the padding compound dries, so that it doesn't stick to the paper towel.  I generally put on two coats of compound, and it dries within a couple minutes.  I like to wait until you have a lot of paper to work with and can make several notepads at once and keep them on hand.


Once the padding compound dries thoroughly (I always give it a good hour to dry after the final coat, just to make sure it sets up really well) you have an upcycled notepad with tear off pages!  This size is great for grocery lists, long or constantly growing to-do lists, or even leaving notes for roommates and family members.  There's also the added benefit of getting the most out of that piece of paper and not having to buy paper products just for lists!

What are your favorite green craft projects?  Leave me a comment and maybe I'll try them out!

Wednesday, January 22, 2014

Waffle Baby Afghan

This Waffle Baby Afghan is something I adapted to fit what yarn I had in my stash.  The yarn is Bernat Softee Baby in "Prettiest Pink" and "Princess Pebbbles", which my mom picked up on clearance for only $1.49 a skein.  Of course, because it was on clearance, there were only two skeins of each color, which was a little less than I needed, but adapt and overcome!


My Waffle Baby Afghan is based on the Weekend Waffle Blanket Kit available from Herrschners.  If you've never looked through a Herrschners catalog or the website before, I suggest you lock up your credit card before you do, but that's a whole different matter :)  

Herrschners kit options

My mom originally purchased this kit in the yellow/blue/green variegated yarn.  I modified the pattern slightly - the pattern only calls for one color yarn, but I alternated between my pink solid and pink/gray/white variegated.  I changed yarns every ten rows in this example, although the first section had to be eleven rows because of the foundation row.


This waffle pattern, like the Basketweave I wrote about a couple of weeks ago, has a great texture that comes from a combination of stitching in the loop and stitching around the front post.

Lately it seems like my favorite crochet projects are the ones that come with texture and depth.  If you have a favorite textured pattern, leave me a comment!

Saturday, January 18, 2014

"Bones" Season 9, Episode 13

SPOILERS


Oh, Bones.  As soon as they started questioning Wendell's broken arm last night, I got a bad bad feeling about poor Wendell.  Wendell is probably my favorite intern in the entire series, so last night's episode was just heartbreaking, as it was meant to be.

I truly applaud the writers for last night's episode.  So often in TV and books, writers try to play "Gotcha!" with twists and surprises and reversals, and frankly, it gets a bit old.  Wendell's diagnosis wasn't that way, but it also wasn't canned or predictable.  It felt the same way I imagine cancer would feel in the real world - a shocking stun, but something that you know unfortunately happens.


The writers also worked their magic on Wendell's character.  His decision to stay and fight the cancer, understanding better than most people exactly what was involved, surprised me.  When he started talking about taking off, ticking off his bucket list, living every second without the haze of treatment, I thought that would be the end.

And I wouldn't have blamed him.

I have been very blessed in my life that cancer hasn't touched me very closely, at least not while I was old enough to remember and understand.  But about a month ago, I lost a family friend to liver cancer.  She had fought for three years, through chemo that caused her to lose her hearing and take up residence in a nursing home.  She was lucky to survive those extra three years, even getting a chance to meet her first grandchild shortly before her death, but at what cost?  Unable to hear, to care for herself, to get out of bed by herself, she suffered, and still the cancer claimed her.  It's a difficult choice, with seemingly no right answer.

Bones, the writers, and the actors all portrayed that beautifully.

Bravo.