Showing posts with label DIY. Show all posts

Sunday, July 10, 2016

Essential Oil Scalp Mask

I said a long time ago that I was trying something new by jumping in to the world of essential oils.  Well, long story short, I am in love with my Young Living oils.  My stash is growing, I'm integrating oils into my daily routine, and I'm noticing big changes in my wellness.

Any reader of this blog knows how much I love crafting, making, and DIY.  Essential oils, along with some products from a local health food store or Amazon, can replace a lot of store-bought products.  It's often cheaper to DIY these products, and you also remove a ton of the toxins and questionable ingredients found in store-bought products from your home.

One of the first places I started integrating essential oils was in my haircare.  My hair is an important part of my identity, and it's not always in the best shape because I color it.  Coloring my hair also limits the products I can use, because some ingredients will strip color.  I've struggled over the years with an unhealthy scalp, but now I have my homemade Scalp Mask.
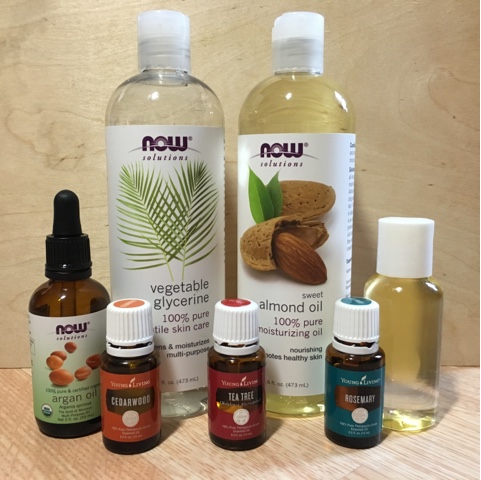


There are only six ingredients in this recipe!  Three of them are essential oils, and three are carrier oils.

Here are a few things to keep in mind when shopping for products:
-With carrier oils, it is important to look for expeller- or cold- pressed oils.  This means that no chemicals were added to pull the oils from the nut or seed
-Make sure your carrier oils are hexane-free.  Again, it means chemicals were part of the extraction process.
-Do a little research on your carrier oil brand and be sure you feel comfortable with them.  All of the carrier oils I used here are NOW brand because it's what my local health food store carries, but it's not neccessarily my favorite brand or one that I'd say is significantly better than others.
-For essential oils, I only use the Young Living brand.  Their Seed to Seal promise makes me certain I'm getting pure, potent, unaltered oils made from plants not treated with toxins.  Young Living oils are grown with therapuetic properties in mind and are tested to ensure those properties are intact.
-There are many store-bought brands of essential oils, but they are often diluted with fillers or made from plants that wouldn't pass Seed to Seal testing.  I've compared other brands side by side with Young Living - I don't buy store brand oils.

Essential Oil Scalp Mask
In a two-ounce bottle combine the following:
1/2 ounce argan oil
1/2 vegetable glycerin
1 ounce almond oil (also known as sweet almond oil)
30 drops each of Cedarwood, Tea Tree (Melaleuca alternifolia), and Rosemary essential oils

Shake well before each use.  Apply directly to the scalp all over or wherever needed and let sit for 1-2 minutes before shampooing.  If oil remains, shampoo a second time before conditioning. 

This recipe has been a God-send for me.  I use it each time I shampoo to nourish my scalp.  I'm no longer scratching or dealing with an embarrassing scalp!  And as a bonus, Cedarwood can help promote strong hair growth. 

My hair is thick and a little on the drier side, so these carrier oils working great for me.  I also only wash my hair once every few days.  If you find that this particular combination of carrier oils leaves your hair feeling oily, there are lots of other carrier oils that you can swap in until you find the right balance for you - not all carrier oils are the same!

Wednesday, April 8, 2015

Night Sky Wedding Quilt

I don't even want to admit how long ago I intended to post this blog - let's just say it's been quite a while!  I would have gotten around to it much sooner if I'd been able to access the photos that were meant for this post - it's always something, right?

I first talked about this project in this post.  The Night Sky Quilt was a wedding gift for a friend I have known for almost 18 years, and I designed the pattern myself.  I didn't want to share pictures of it until after she and her husband opened it, just in case they got back to her, so here they finally are!

As you can see, I'm still working on finding an easy place to hang quilts for picture-taking.  I'm on my tiptoes on a chair behind this queen-size, and you're still missing out on some of the edges!


I have a friend in my fabulous long-arm quilter Lyn.  She has done all of the long-arm for my mom and I, and she really truly lets the fabrics speak to her.  If you're in East Central MN and looking for a quilter, let me put you in touch with her!


Night Sky is really a simple pattern - with the exception of the stars, it's all squares!  I think the hardest part of this pattern was laying it out and then keeping it straight while my dog and nephew were busy trying to get in the way!  As you can see here, it has a scrap quilt look to it, but I used mostly fat quarters to give it that feel.  This quilt reminded me of a very important lesson - fat quarters do not cut in the same dimensions as a quarter-yard!  A few of the fabrics came up a few squares short of what I had so meticulously planned for them.  As always in quilting, adapt and overcome!

I hope you love Night Sky!  If you have any questions about my design process, measurements, the finished product, or anything, leave me a comment.

Saturday, February 1, 2014

Reduce, Reuse, Recycle DIY Notepads

If you read my first blog post nearly a year ago, you know that I have an obsession with notepads.  I also have a Pinterest-aided craze for DIY and crafting (within reason - I know my limits, however I do have quite a bit of experience with power tools, so my limits are typically a bit higher than most).  I've only tried three or four Pinterest things thus far because, well, there are a lot of other things to get done, but this is one I'm obsessed with.

Make your own notepads.
(You can find the pin here)

Now the original pin uses scrapbooking paper to make pretty notepads, but that's not what I'm talking about.  I use paper that has already been printed on one side - whether it's old assignment sheets, directions, junk mail, anything.  To get the sheet of paper down to size, I fold and tear it into six pieces.

If you really need your notepads to be perfect, you can use a paper cutter.
I find the eyeballing and tearing method works just fine.

After you get a good stack of the notepad-size papers torn, stack them up, making sure that the blank sides are all facing the same way.  I try to make sure that the factory edges of the shorter sides are all at the top, because it makes the gluing easier.

Next, grab two binder clips and separate out enough paper to pretty much fill the clips.  This will be one notepad, so the thicker you want your notepad, the bigger size binder clips you need.


Place the binder clips on either side of the papers close to the top.  It's important to use the binder clips or another kind of clasp to hold them together, or the glue will seep down and the papers won't attach to each other well.


This is my setup for applying the glue.  It's actually called "notepad padding compound," and it's available on Amazon and Etsy and Ebay.  The bottle here is the first one I've purchased and pretty small, but a little goes a long way.  I just use a cheap little paintbrush, but there are fancy bookbinding brushes you can by.

All you have to do is brush a thin layer of the padding compound across the side you want to hold the papers together.  I always do the short side because the binder clips hold better that way, but it's up to you!


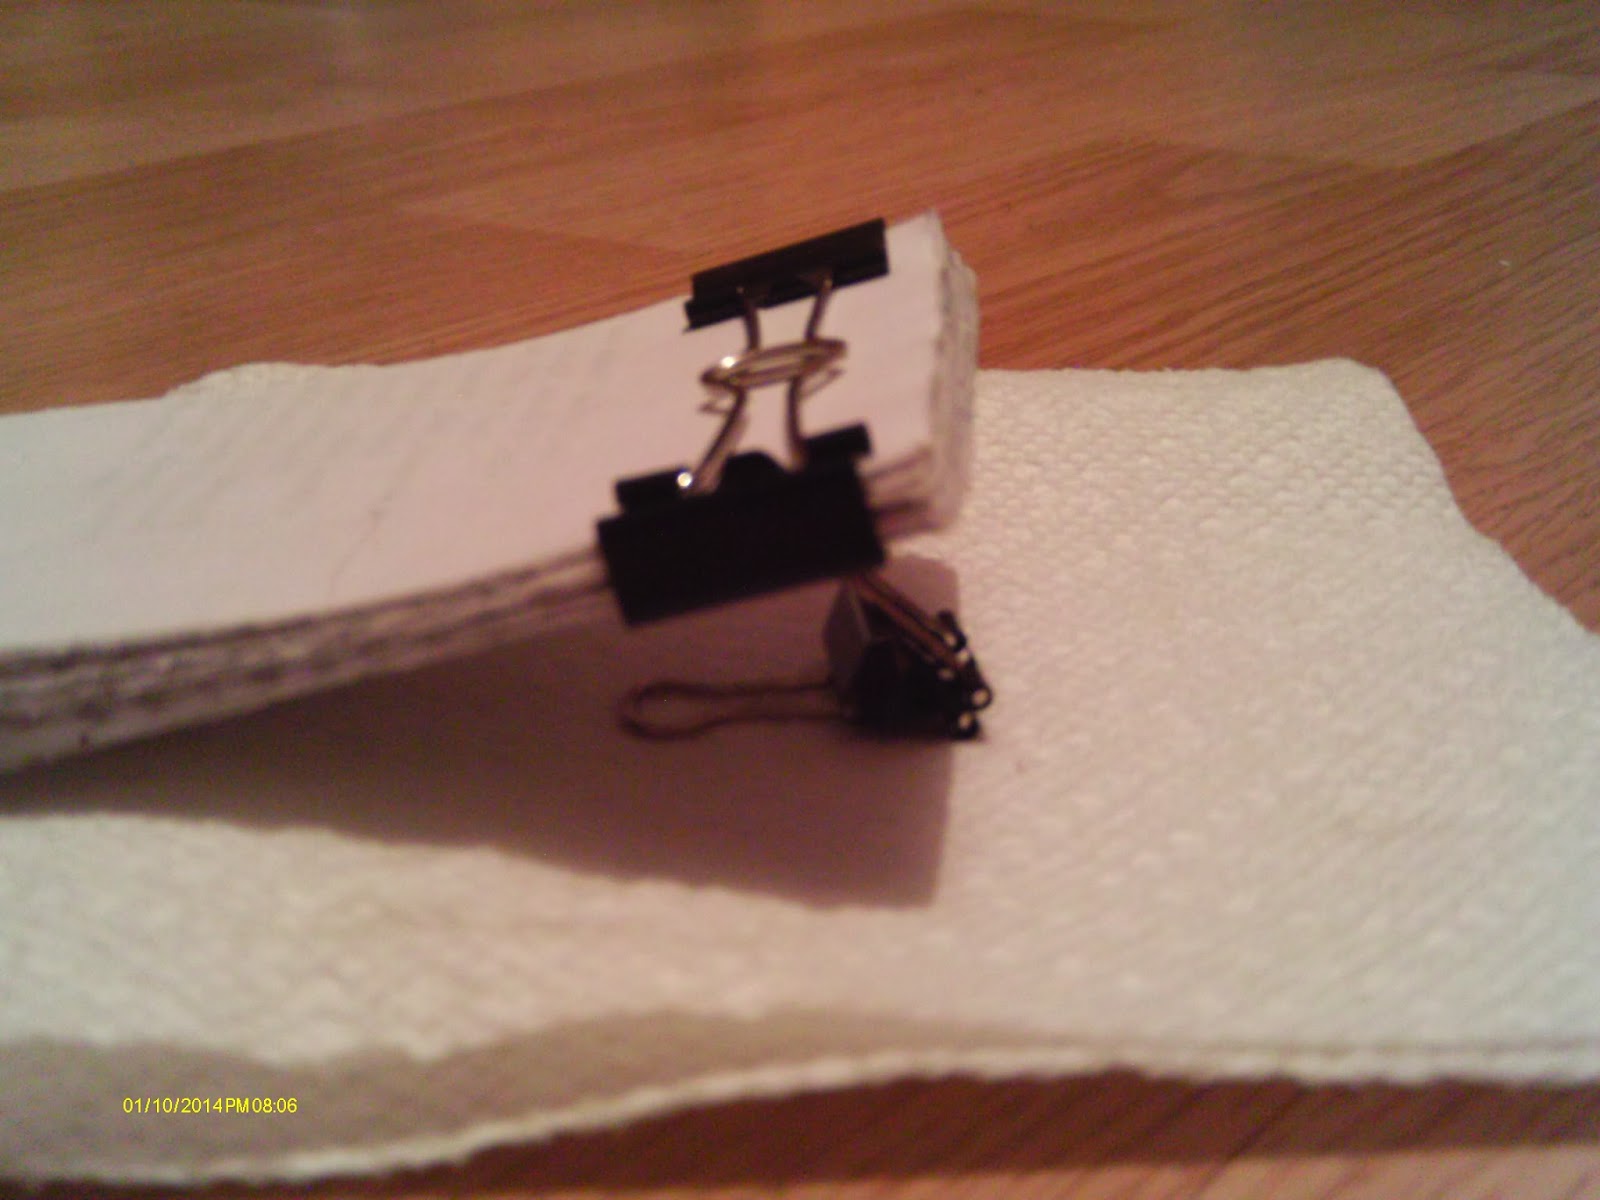
I use a third binder clip to rest the notepad on while the padding compound dries, so that it doesn't stick to the paper towel.  I generally put on two coats of compound, and it dries within a couple minutes.  I like to wait until you have a lot of paper to work with and can make several notepads at once and keep them on hand.


Once the padding compound dries thoroughly (I always give it a good hour to dry after the final coat, just to make sure it sets up really well) you have an upcycled notepad with tear off pages!  This size is great for grocery lists, long or constantly growing to-do lists, or even leaving notes for roommates and family members.  There's also the added benefit of getting the most out of that piece of paper and not having to buy paper products just for lists!

What are your favorite green craft projects?  Leave me a comment and maybe I'll try them out!