Showing posts with label crafting. Show all posts

Wednesday, April 8, 2015

Night Sky Wedding Quilt

I don't even want to admit how long ago I intended to post this blog - let's just say it's been quite a while!  I would have gotten around to it much sooner if I'd been able to access the photos that were meant for this post - it's always something, right?

I first talked about this project in this post.  The Night Sky Quilt was a wedding gift for a friend I have known for almost 18 years, and I designed the pattern myself.  I didn't want to share pictures of it until after she and her husband opened it, just in case they got back to her, so here they finally are!

As you can see, I'm still working on finding an easy place to hang quilts for picture-taking.  I'm on my tiptoes on a chair behind this queen-size, and you're still missing out on some of the edges!


I have a friend in my fabulous long-arm quilter Lyn.  She has done all of the long-arm for my mom and I, and she really truly lets the fabrics speak to her.  If you're in East Central MN and looking for a quilter, let me put you in touch with her!


Night Sky is really a simple pattern - with the exception of the stars, it's all squares!  I think the hardest part of this pattern was laying it out and then keeping it straight while my dog and nephew were busy trying to get in the way!  As you can see here, it has a scrap quilt look to it, but I used mostly fat quarters to give it that feel.  This quilt reminded me of a very important lesson - fat quarters do not cut in the same dimensions as a quarter-yard!  A few of the fabrics came up a few squares short of what I had so meticulously planned for them.  As always in quilting, adapt and overcome!

I hope you love Night Sky!  If you have any questions about my design process, measurements, the finished product, or anything, leave me a comment.

Saturday, January 24, 2015

Trying New Things

Trying new things is generally not my style.

This year, though, I'm trying to focus on a quote from the TV show Blue Bloods:


I have a secure base.  It doesn't get much more secure than living in your hometown and working for the company that gave you your first job.  Whoever said "you can't go home again" really missed the mark.  You can go home again - you just go home changed.

So though I'll admit that what I've been up to lately doesn't really qualify as daring, it is a new year and I'm making some new choices.

First, a new craft.  My mom bought me a sock loom (I adore socks) for Christmas 2013, and I am finally giving it a try.

You're looking at the better part of six hours of work.
I had to start over at one point, and I'm doing this at work, but still.  Slow going.

This isn't my first experience with loom knitting, but knitting socks is very different.  The yarn is extremely fine (I'm currently using a 2 yarn, but most of the patterns call for a 1 weight), so it has a different texture and the finished product grows very slowly.

The yarn I'm using, in Grapes.

Second, a new beverage.  I have had tea once in my lifetime, about ten years ago.  I can't tell you what kind of tea it was - a coffee shop gave it to me because they were out of what I actually wanted - but I hated it.  My friends, on the other hand, are tea lovers, and one of them is hosting a party for a company called Steeped Tea.  I love to support a direct sales business person!  I'm getting one rooibos tea and one green tea, so we'll see how it goes.


And last, a new supplement.  Don't get me wrong, I am absolutely an advocate of modern medicine, vaccines, and the power of medical science.  I do not approve of turning our backs on the power of medicine - the recent measles outbreak is proof enough that medicine is an important part of quality of life.  The rise of superbugs and antibiotic resistance is proof enought, though, that sometimes it's better to not have a pill and potion for everything.

So, I'm trying out essential oils.  Several acquaintances have been using oils with good results, and I'm willing to see if I can get any relief from my upset stomach and and sinus congestion.  My first trial run will be with peppermint, cedarwood, and lemon.  We'll see how it goes!

Thursday, August 14, 2014

Quilt Designing

Like most females my age, I have an addiction to Pinterest. While I think Pinterest is fantastic with its sea salt body scrub recipes and fastest way to fit abs workout routines, one of the drawbacks of Pinterest is that your pins don't necessarily go anywhere.  This is especially true of my favorite Pinterest subject, quilting. I pin quilts because I love the picture – whether it's the colors, the pattern, or the textures that draw me in – without regard to where that picture leads. 

A couple months back, I spent an afternoon searching through my quilting board, looking for just the right pattern for a childhood friend's wedding gift. I finally found what I wanted in this Flickr picture:


Unfortunately, that's all it was, just a photo with no link to a pattern, credit to a designer, description, or even a size.  That left me with few options, now that I was feeling like this had to be the quilt for them.

I decided to design my own pattern for a quilt inspired by the picture.  There are many upsides to making your own patterns, one being that you get the size you're looking for (my best guess would be that the quilt in the picture is twin- or full- sized, and I wanted a queen-sized).  Pattern making in quilting is easier than you might think, especially for a quilt that contains only basic shapes, in this case squares and half-square triangles.


These two items are my quilt designing must-haves: graph paper (any size you choose) and a fabric calculator.  Graph paper is essential.  At the heart, almost every single quilt is based on a series of squares and rectangles manipulated and arranged into beauty, and the graph paper helps get all those shapes into proportion without hours staring at a ruler.  I always have my FabriCalc with me during designing sessions, purely because it's faster to calculate yardage than using a pencil and regular calculator.  I highly suggest buying a fabric calculator only during sales, at a JoAnn/Michaels – my mom and I did so on Black Friday and got ours 50% off.

Other items you'll want to have handy:
  • pencil (I think mechanical work best) with an eraser that won't smear
  • colored pencils
  • a pen to help differentiate between different areas where colors are similar
  • scratch paper to write down yardages, do math, or whatever else you might need
With only those supplies and a short amount of time, you can have the pattern you want!  I finished my pattern in less than an hour – it probably wouldn't have taken that long, but I rearranged the stars a half-dozen times or so.

The final product

I will post pictures of the finished quilt in about two weeks, after my friend's wedding.  Right now, it is complete except for the binding, and I am very proud of it.  Here's hoping the happy couple loves it!

Leave any questions about my pattern making process in the comment section, and I'll be happy to answer them!

Saturday, February 1, 2014

Reduce, Reuse, Recycle DIY Notepads

If you read my first blog post nearly a year ago, you know that I have an obsession with notepads.  I also have a Pinterest-aided craze for DIY and crafting (within reason - I know my limits, however I do have quite a bit of experience with power tools, so my limits are typically a bit higher than most).  I've only tried three or four Pinterest things thus far because, well, there are a lot of other things to get done, but this is one I'm obsessed with.

Make your own notepads.
(You can find the pin here)

Now the original pin uses scrapbooking paper to make pretty notepads, but that's not what I'm talking about.  I use paper that has already been printed on one side - whether it's old assignment sheets, directions, junk mail, anything.  To get the sheet of paper down to size, I fold and tear it into six pieces.

If you really need your notepads to be perfect, you can use a paper cutter.
I find the eyeballing and tearing method works just fine.

After you get a good stack of the notepad-size papers torn, stack them up, making sure that the blank sides are all facing the same way.  I try to make sure that the factory edges of the shorter sides are all at the top, because it makes the gluing easier.

Next, grab two binder clips and separate out enough paper to pretty much fill the clips.  This will be one notepad, so the thicker you want your notepad, the bigger size binder clips you need.


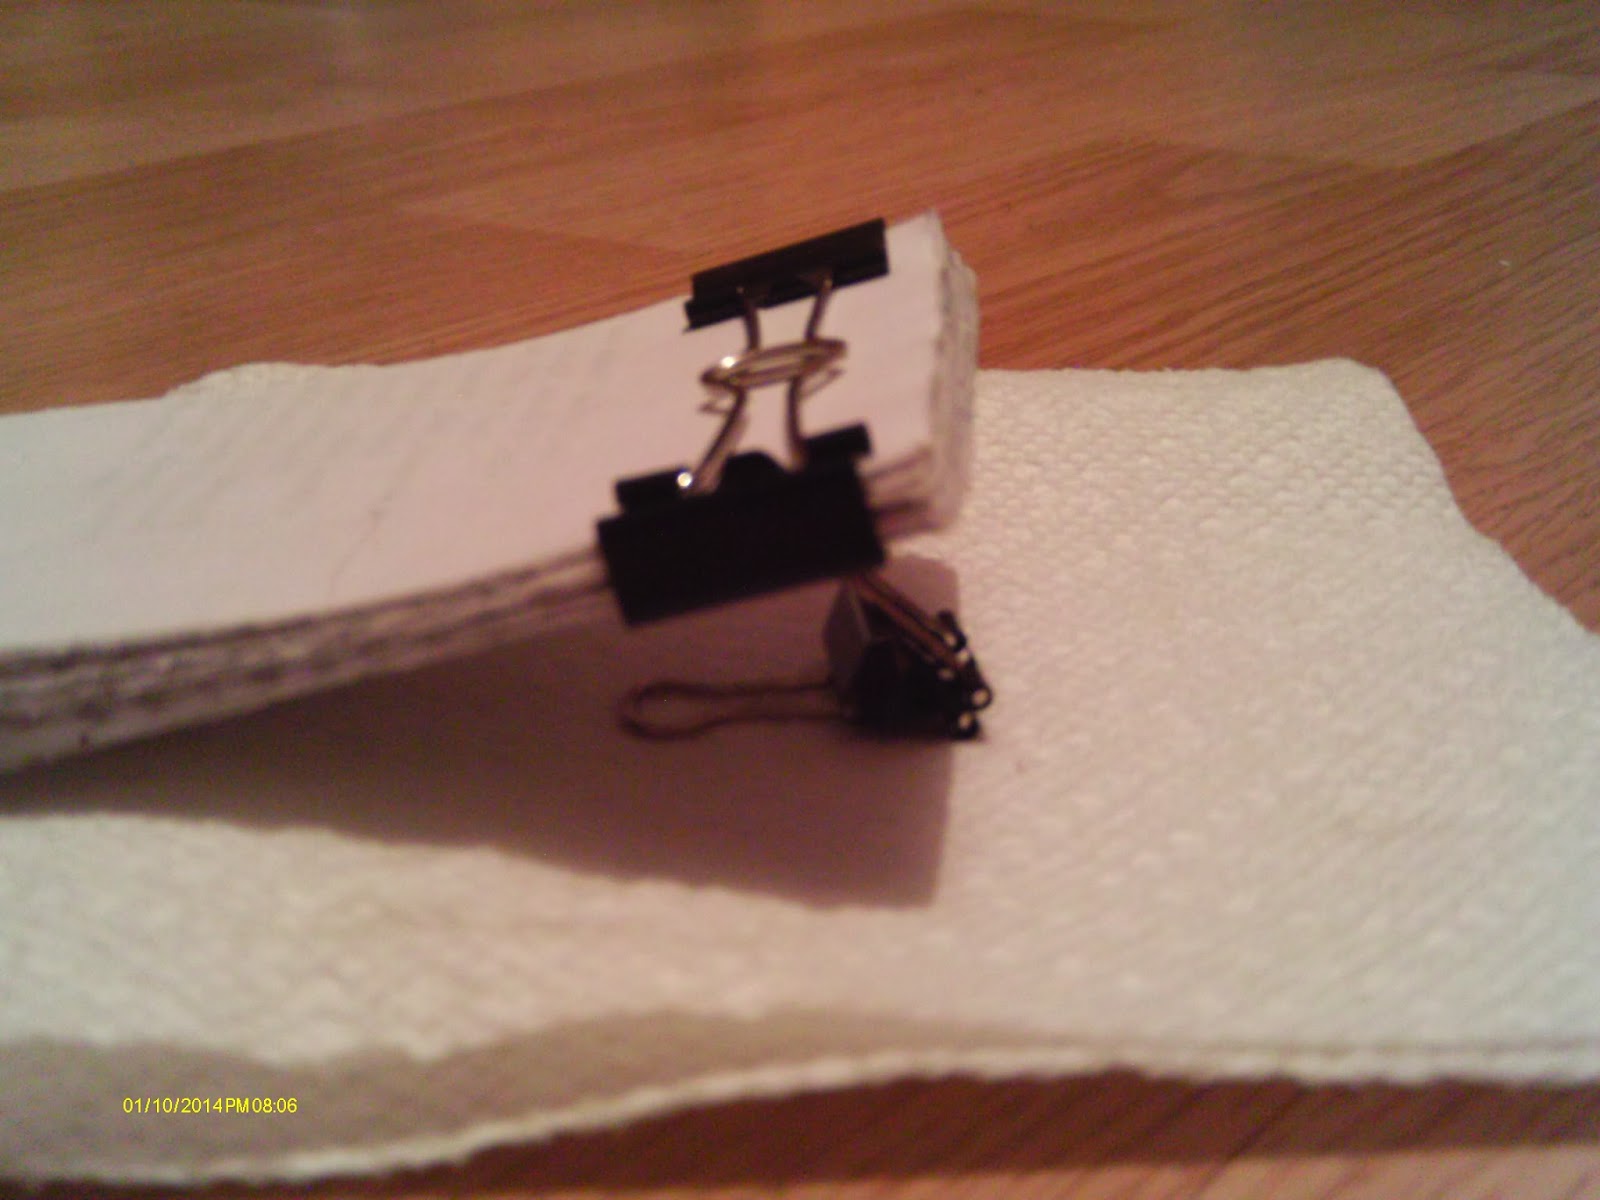
Place the binder clips on either side of the papers close to the top.  It's important to use the binder clips or another kind of clasp to hold them together, or the glue will seep down and the papers won't attach to each other well.


This is my setup for applying the glue.  It's actually called "notepad padding compound," and it's available on Amazon and Etsy and Ebay.  The bottle here is the first one I've purchased and pretty small, but a little goes a long way.  I just use a cheap little paintbrush, but there are fancy bookbinding brushes you can by.

All you have to do is brush a thin layer of the padding compound across the side you want to hold the papers together.  I always do the short side because the binder clips hold better that way, but it's up to you!


I use a third binder clip to rest the notepad on while the padding compound dries, so that it doesn't stick to the paper towel.  I generally put on two coats of compound, and it dries within a couple minutes.  I like to wait until you have a lot of paper to work with and can make several notepads at once and keep them on hand.


Once the padding compound dries thoroughly (I always give it a good hour to dry after the final coat, just to make sure it sets up really well) you have an upcycled notepad with tear off pages!  This size is great for grocery lists, long or constantly growing to-do lists, or even leaving notes for roommates and family members.  There's also the added benefit of getting the most out of that piece of paper and not having to buy paper products just for lists!

What are your favorite green craft projects?  Leave me a comment and maybe I'll try them out!

Wednesday, January 22, 2014

Waffle Baby Afghan

This Waffle Baby Afghan is something I adapted to fit what yarn I had in my stash.  The yarn is Bernat Softee Baby in "Prettiest Pink" and "Princess Pebbbles", which my mom picked up on clearance for only $1.49 a skein.  Of course, because it was on clearance, there were only two skeins of each color, which was a little less than I needed, but adapt and overcome!


My Waffle Baby Afghan is based on the Weekend Waffle Blanket Kit available from Herrschners.  If you've never looked through a Herrschners catalog or the website before, I suggest you lock up your credit card before you do, but that's a whole different matter :)  

Herrschners kit options

My mom originally purchased this kit in the yellow/blue/green variegated yarn.  I modified the pattern slightly - the pattern only calls for one color yarn, but I alternated between my pink solid and pink/gray/white variegated.  I changed yarns every ten rows in this example, although the first section had to be eleven rows because of the foundation row.


This waffle pattern, like the Basketweave I wrote about a couple of weeks ago, has a great texture that comes from a combination of stitching in the loop and stitching around the front post.

Lately it seems like my favorite crochet projects are the ones that come with texture and depth.  If you have a favorite textured pattern, leave me a comment!

Sunday, January 5, 2014

Basketweave Afghan

I have done so much crafting that I haven't blogged about!

With the start of 2014, I'm trying to recommit myself to keeping up with my blogging, so what better way than to look back on the projects that have kept me busy throughout the summer and fall of 2013?

With that said, I'm going to start with my Basketweave Afghan.

This pattern comes from the book Crocheted Afghans by Carol Cook Hagood.  The book I used belongs to my mother, and was published in the late 1980s, but you can still find it on Etsy and Ebay.  The Basketweave is actually the second afghan I've done from this book; the first one was a lap afghan about five years ago.


The pattern calls for fringe, which I omitted.


I love the Basketweave pattern, and it really is simple.  As long as you are familiar with the basic crochet stitches (single through double-triple), you can succeed at this pattern.

The pattern only uses two stitches, double and double-triple.

The texture of this pattern comes from working select stitches around the front post of the rows below it, rather than in the loop.

A great pattern, and so simple!  What do you think?  What's your current project?  Leave me a comment or some pictures.

Monday, December 9, 2013

Cross-stitch on the Go

I find it absolutely impossible to sit still.  Even watching TV or Netflix, I have to be doing something with my hands (fact, I'm typing this in one tab with The West Wing playing in another).

I always keep some sort of busy work close, and though in the past years it was typically homework, in the seven months since graduation, I have begun keeping books and crafting supplies at hand to stave off my boredom and penchant for napping when I'm bored.


Small cross-stitch kits like these are available at tons of stores including Walmart, Joann Fabrics, and Michael's.  The kit itself is the perfect size, easy to transport and small enough to keep everything in your lap if you're watching a movie or riding in a car.  I like to store all the pieces of the kit, plus a scissors, in one of these pencil pouches.  They're just big enough to keep you busy for a bit, and they're relatively inexpensive.


But what to do with the finished product?  My favorite use for these small pieces is to use them as gift tags; I just attached the little bunnies to a Christmas present I mailed to a friend.  A handmade tag like this is a great way to make a gift-recipient feel special, and a myriad of designs make grabbing one from a stockpile easy.